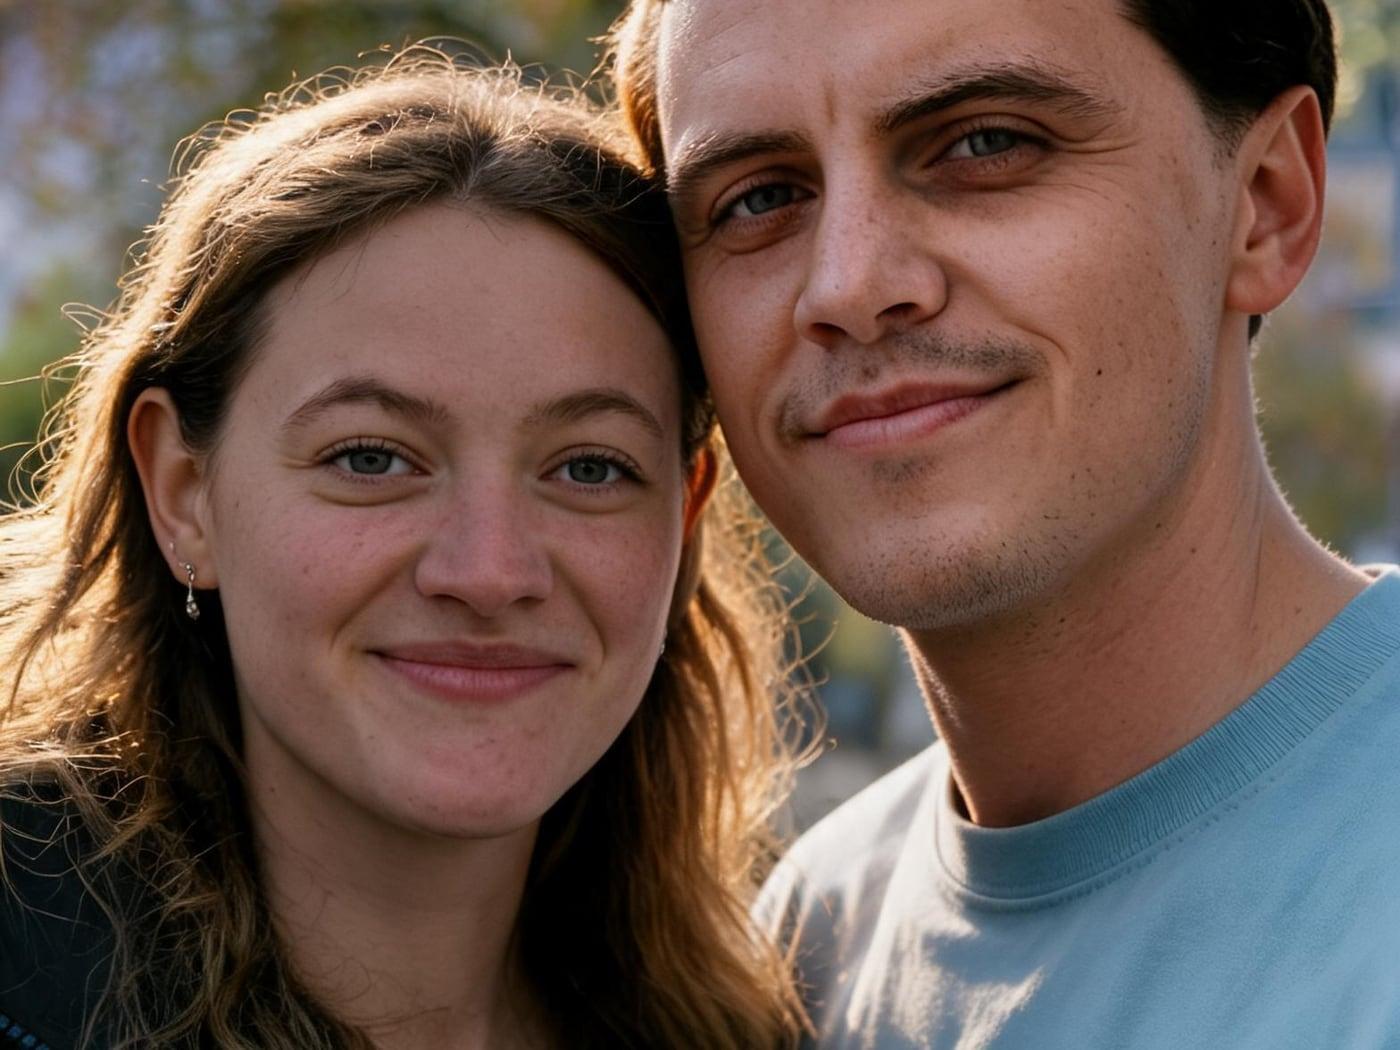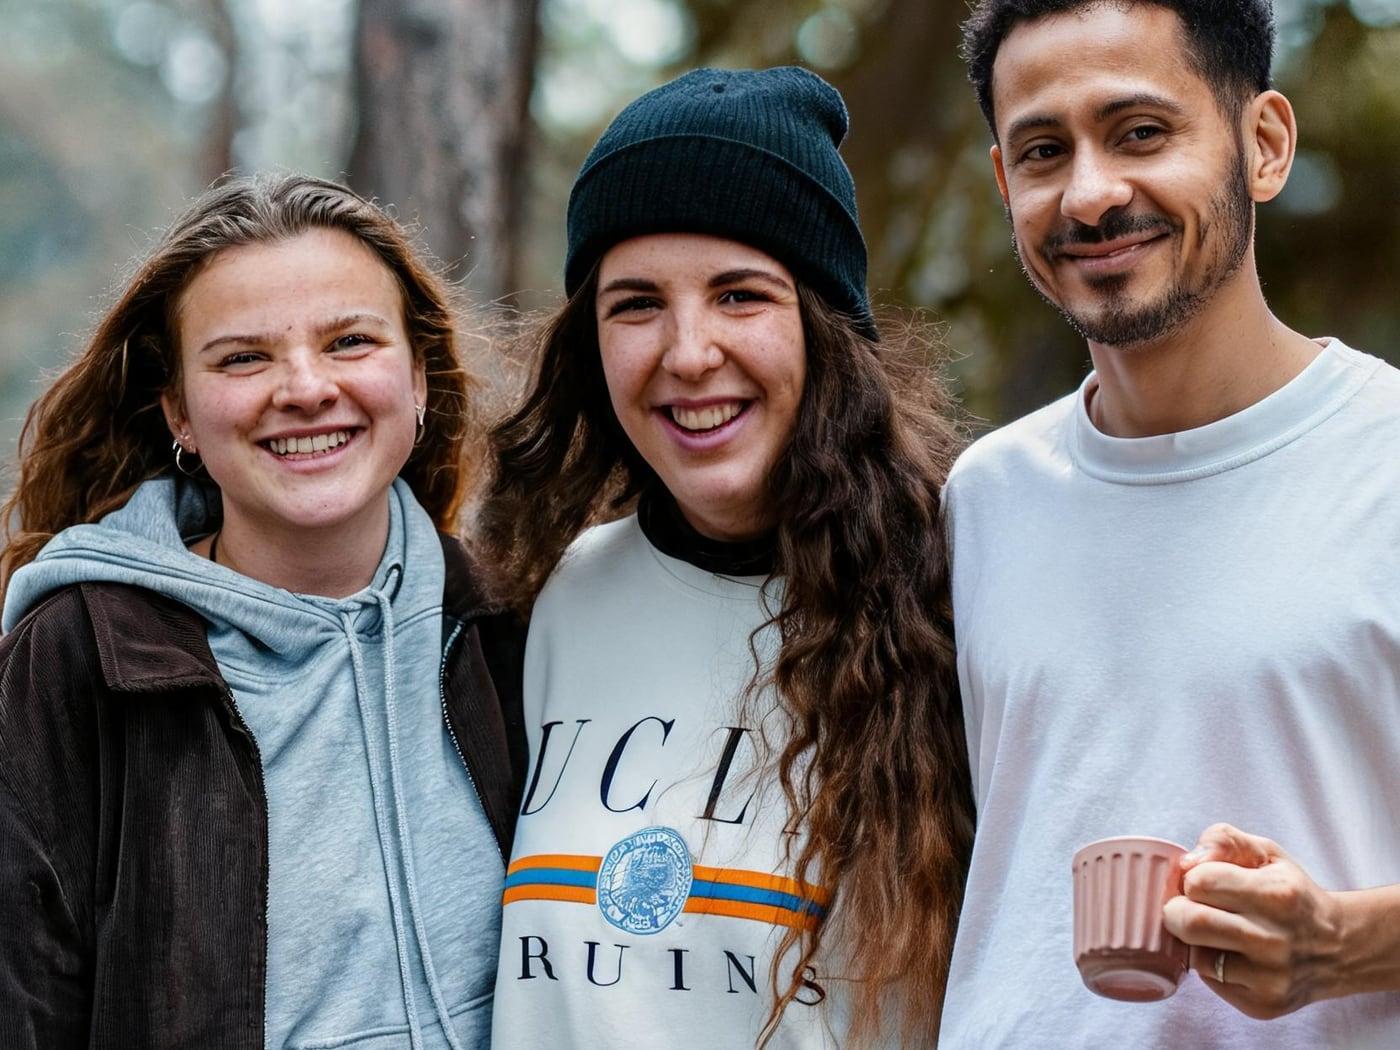

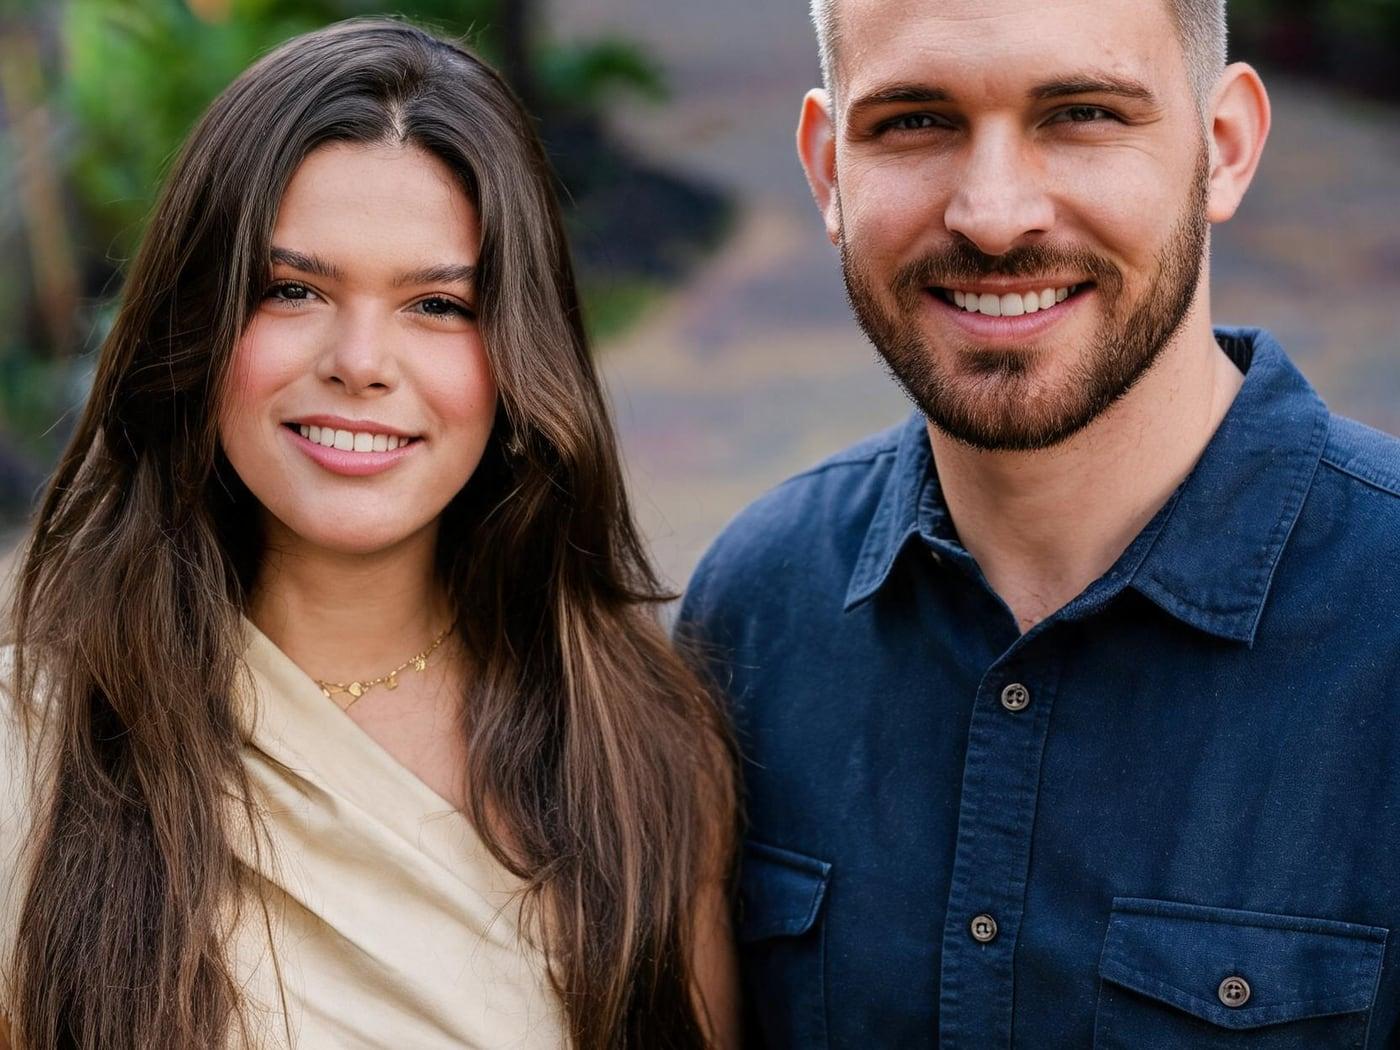
"Merging" two photos means one of three things, and each needs a different tool. An AI merge generates one new photo where the subjects of both pictures share the same scene, light and perspective. A blend lays one photo over the other and fades them into each other, like a double exposure. A stitch joins the two photos edge to edge, side by side or stacked, without changing either one. Pick the result you want first; the steps follow from that.
Which Kind of Merge Do You Need?
| You want | Merge type | Tool | Time | Cost |
|---|---|---|---|---|
| Two people, or a person and a place, in one believable photo | AI merge | AI image combiner | Under a minute | 1 credit per 1K image (3 free credits to start) |
| One photo fading into the other, or a double exposure | Blend | A layer editor (Photoshop, Photopea, Canva) | 5–30 minutes | Free to paid |
| Both photos complete and unchanged, next to each other | Stitch | Side-by-side, vertical or grid maker | Seconds | Free |
If you are not sure, ask one question: should anything in the photos change? If yes (backgrounds, light, poses), you need an AI merge. If the photos should stay exactly as they are, you need a blend or a stitch.
Method 1: Merge Two Photos into One Scene with AI
An AI photo merger does not paste one picture onto another. It reads both photos and generates a new image in which their subjects appear together, with one light source, one background and matching scale. That is why it works for photos taken years apart, in different places or with different cameras.
- Pick two clear source photos. Faces should be sharp and fully visible, with no one else in the frame. For objects, use a photo where the whole item is visible on a plain background.
- Open the AI image combiner and upload both photos (JPG, PNG, WebP or iPhone HEIC, up to 10 MB each).
- Describe the merged result, not the process. "Merge these photos" gives the AI nothing to work with. Say who or what goes where, the setting and the light.
- Generate at 1K first. It costs 1 credit and usually takes under 30 seconds, so you can try two or three prompts cheaply. Rerender the version you like at 2K or 4K if you plan to print it.
- Check the details before you download. Compare faces with the originals, and look at hands, hairlines, text on products and where feet or objects touch the ground.
What you can merge with AI
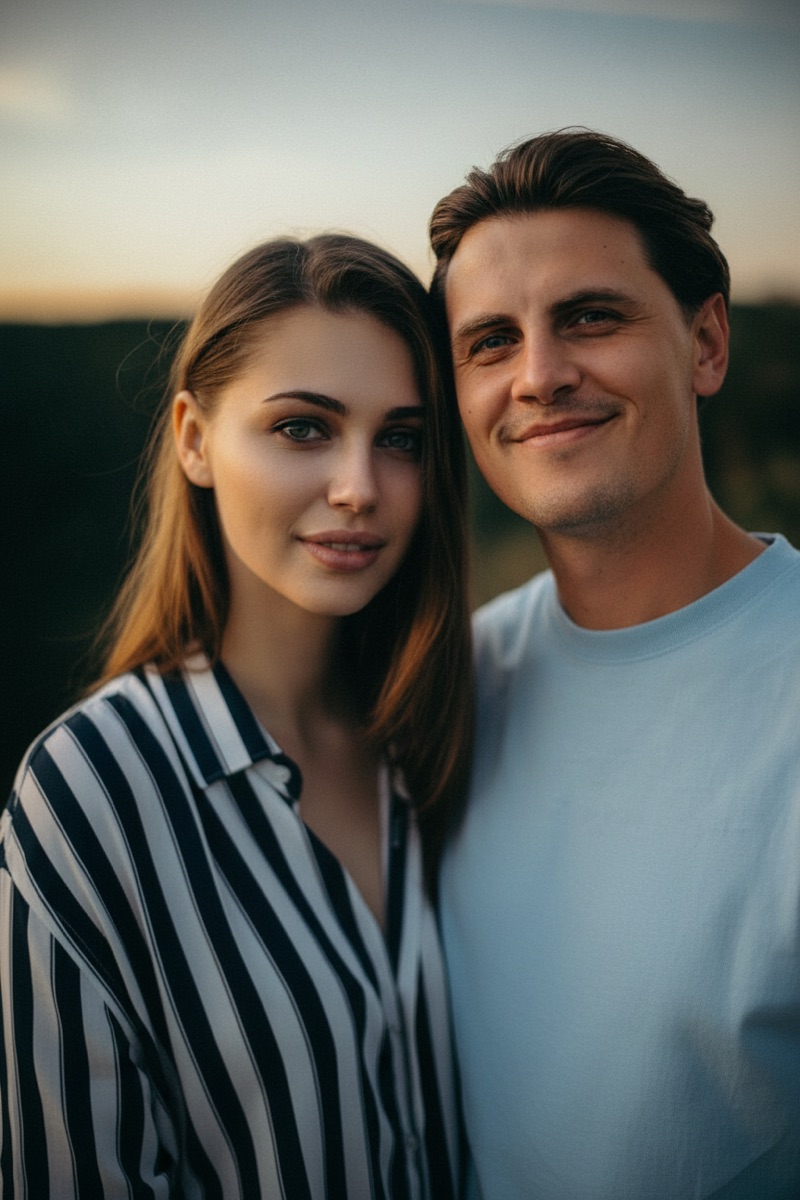
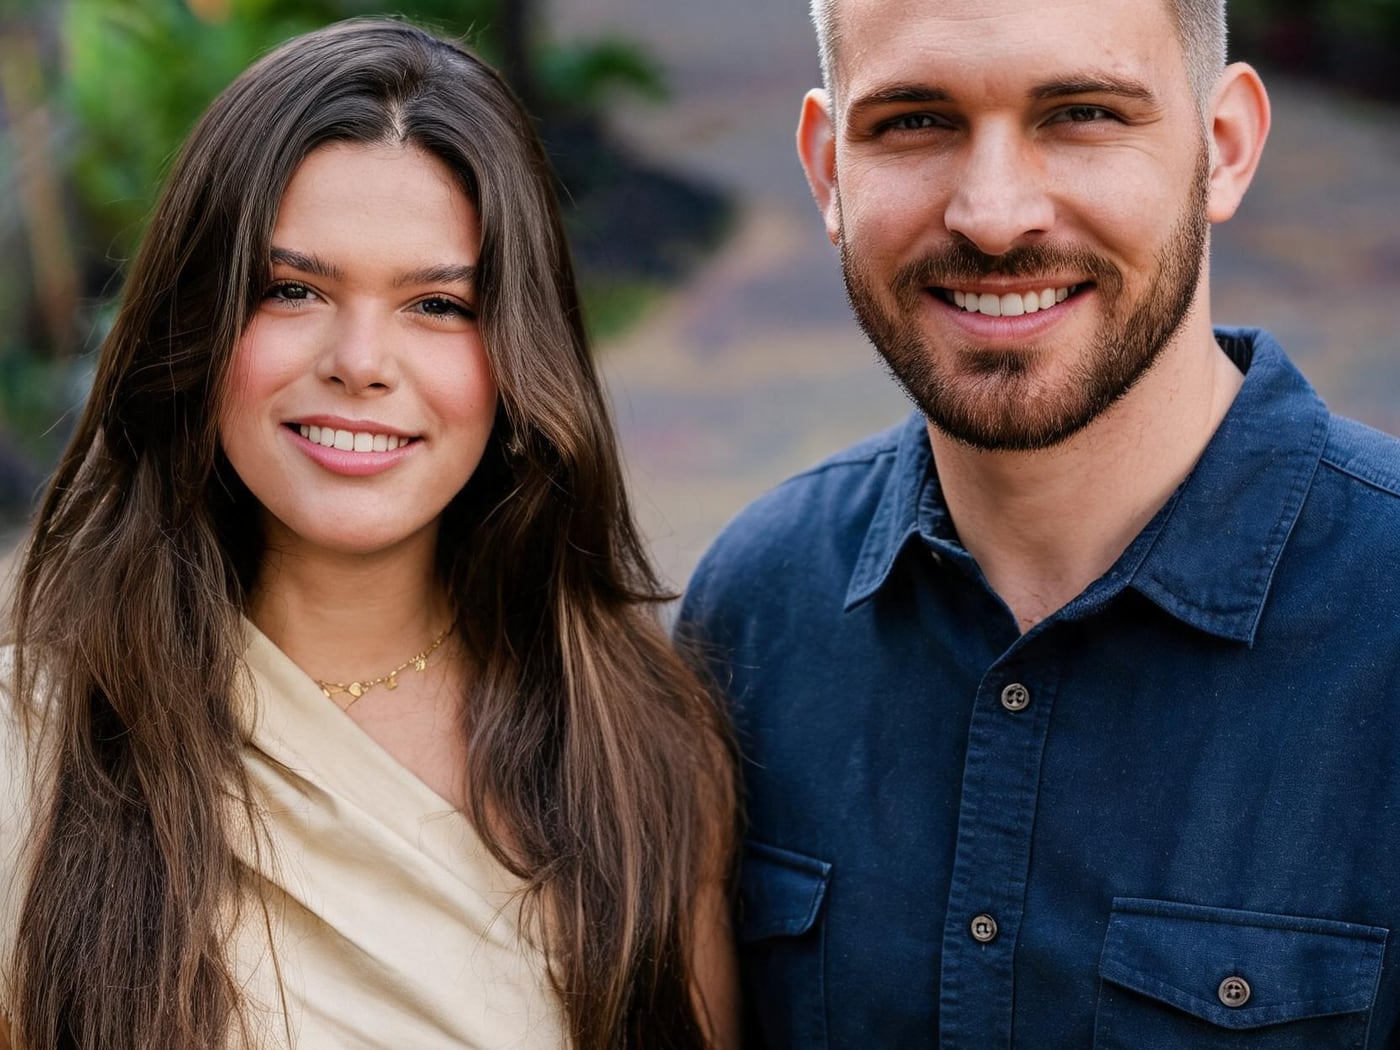
Two people. In the photo at the top of this guide, a woman and a man were photographed separately, in different places. The AI merged them into one portrait with a shared background and matching light. For partners, the couple photo maker is tuned for this. To add someone to an existing group photo instead, see how to add someone to a photo.
Source photos: Rodrigo Rodrigues | WOLF Λ R T and Samuel Yongbo Kwon on Unsplash.
A product and a background. Upload the product first and the scene second. The AI places the product in the scene and redraws its shadow and reflections to match. Here, a dropper bottle photographed on a plate was merged into a beach at sunset:
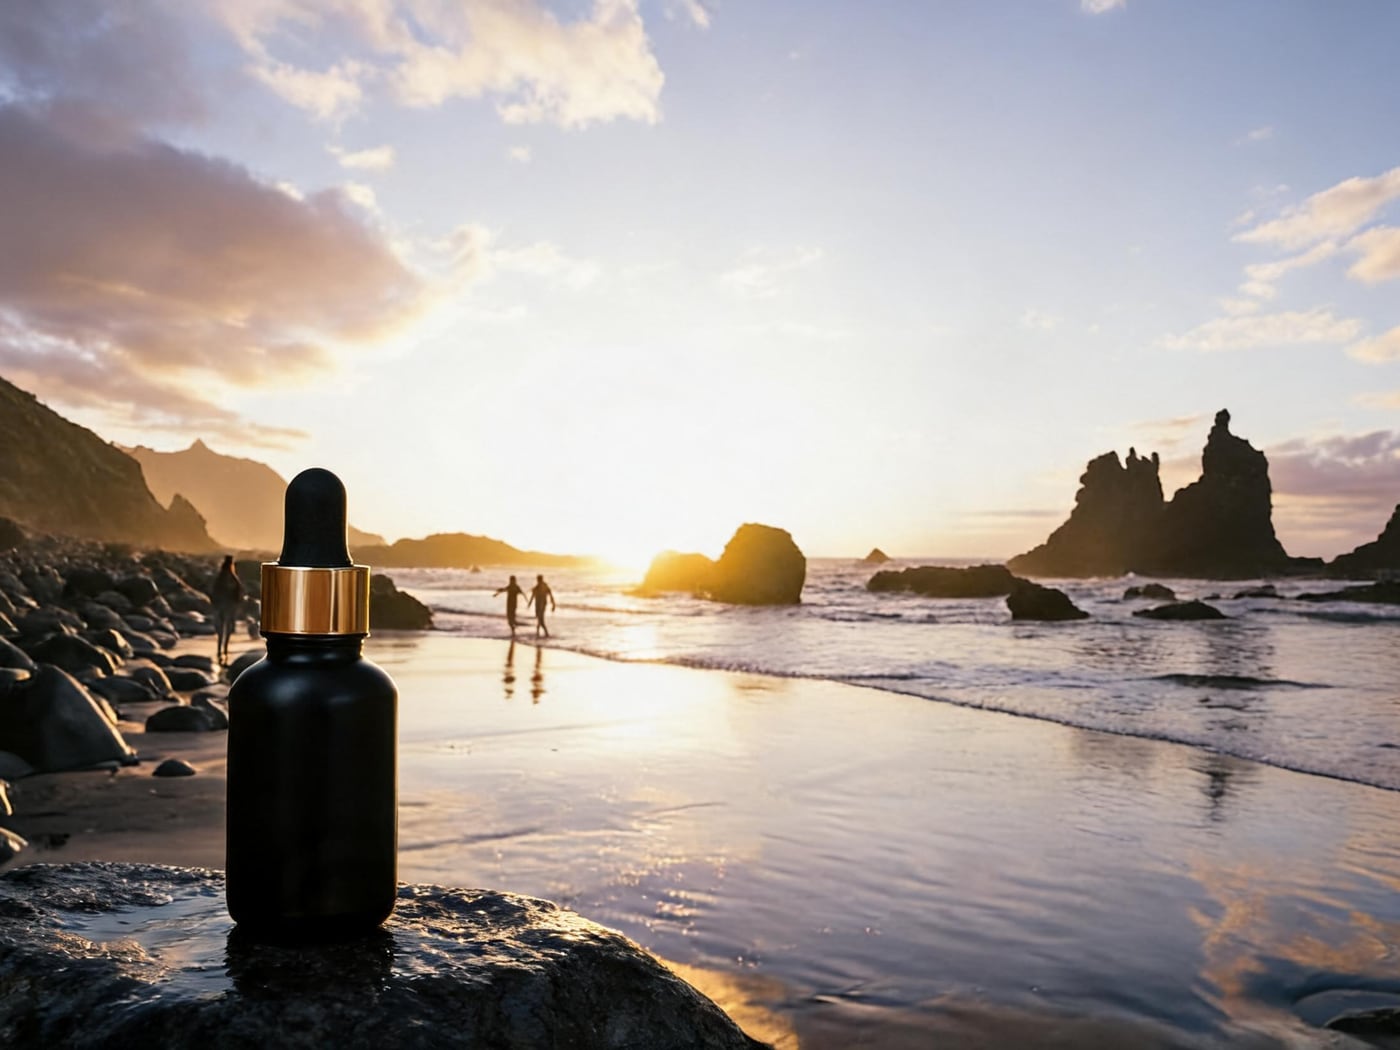
Source photos: Content Pixie and Maarten on Unsplash. Try it with your own item in the AI product photo tool.
The content of one photo and the style of another. Upload your photo first and the style reference second, and the AI redraws your photo with the second one's colors, light and texture. This is style transfer, and it is the right "merge" when you like the look of one picture and the subject of the other.
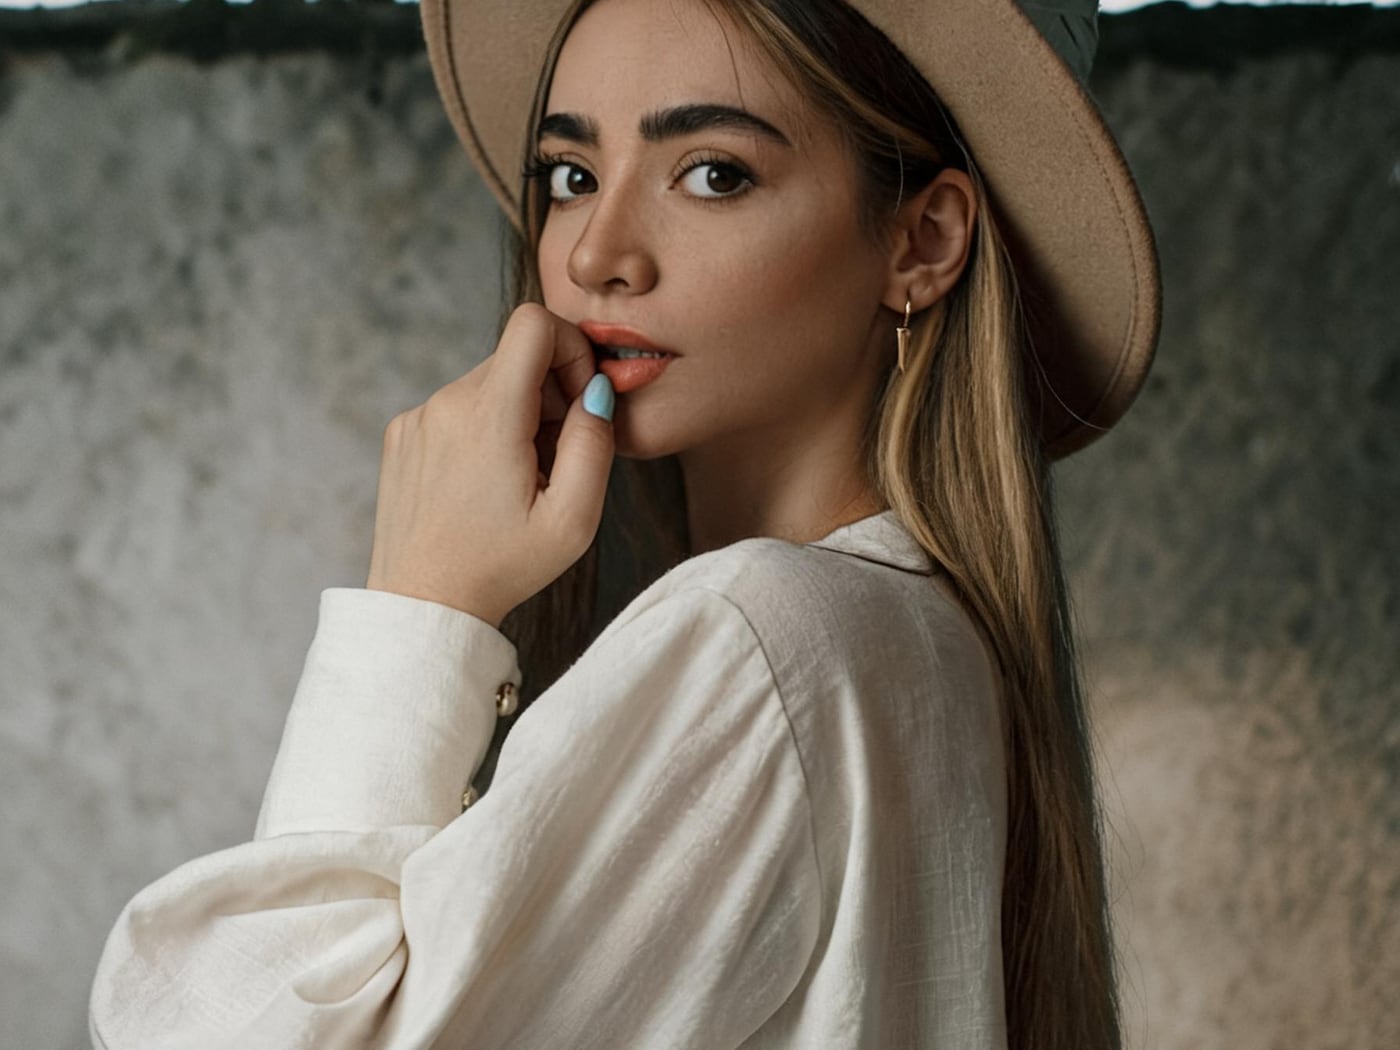
Source photos: Raamin ka and Jim Flores on Unsplash.
Prompts that work
- "Merge the two people into one photo, standing close together in a sunny park, both smiling at the camera, natural daylight."
- "Place the bottle from the first photo on the rock in the foreground of the second photo, golden sunset light, realistic shadow."
- "Redraw the first photo in the color and lighting style of the second photo. Keep the woman's face and pose unchanged."
Give one setting and one light. If one detail comes out wrong, change only the words about that detail and generate again. A longer prompt with more instructions usually makes the merge worse.
Method 2: Blend Two Photos Together (Fade or Double Exposure)
A blend keeps both original photos and makes one show through the other. It is the look people mean by "blend two photos together", "double exposure" or a photo that "fades" into another. You need an editor with layers.
Fade one photo into the other (gradient blend)
This works in Photoshop and in Photopea, a free browser editor with the same tools:
- Open the first photo, then place the second photo on top as a new layer (File › Place, or drag it in).
- Resize and position the top layer so the two photos overlap where you want the transition.
- Add a layer mask to the top layer.
- Select the Gradient tool with a black-to-white gradient, and drag across the area where the photos should meet. Black hides the top photo, white shows it, and the gradient makes the soft fade.
- Repeat the drag until the transition sits where you want it, then export as JPG or PNG.
Make a double exposure
The classic double exposure puts a landscape inside a person's silhouette:
- Use a portrait with a plain, bright background (a person against a white wall or a bright sky works best) as the bottom layer.
- Place a landscape, a forest or a city skyline on top.
- Set the top layer's blend mode to Screen (or Lighten). The landscape shows only through the dark parts of the portrait.
- Add a layer mask and paint with a soft black brush over the face, so the eyes and features stay clear.
- Increase contrast on the portrait if the landscape looks washed out.
Quick blend in Canva or on a phone
In Canva, upload both photos, place one on top of the other and lower the top photo's Transparency (the checkerboard icon in the toolbar) to about 40–60%. This gives an even, see-through blend, but not a soft gradient or a true double exposure. Phone photo apps with layers or "blend" tools work the same way.
You can also ask the AI combiner for a double-exposure look in your prompt, for example "a double exposure of the woman's profile filled with the pine forest from the second photo". Results vary more than with layers, so use layers when you need precise control.
Method 3: Stitch Two Photos Together (Side by Side or Stacked)
When both photos must stay complete and unchanged, such as a comparison, a before-and-after or two receipts, stitch them instead of merging them:
- Side by side: the side-by-side maker joins two to nine photos in a row. See how to put two pictures side by side for layout tips.
- One above the other: the vertical photo combiner stacks them in a column, which suits phone screens and long posts.
- In a grid: the photo grid maker arranges up to nine photos in rows and columns.
These tools run in your browser, are free, need no sign-up and do not add a watermark. They also do not use AI credits.
Why Merged Photos Look Fake, and How to Fix It
| Problem | Usually caused by | Fix |
|---|---|---|
| One subject looks pasted on | Different light direction in the two photos | Pick source photos with similar light, or name one light in the AI prompt ("soft light from the left") |
| Heads are different sizes | Photos taken at different distances | Use photos framed the same way (both waist-up or both full-body) |
| A face no longer looks like the person | Low-resolution or angled source face | Use a sharp, front-facing photo, then regenerate |
| Hard edge in a blend | Mask gradient too short | Drag the gradient across a wider area, or use a larger, softer brush |
| Muddy double exposure | Busy background in the portrait | Use a portrait on a plain, bright background and raise its contrast |
| Product label is garbled | AI redrew small text | Use a close, sharp product photo and check the label; rerender at a higher resolution |
Frequently Asked Questions
What is the easiest way to merge two photos together?
For one natural-looking photo, an AI image combiner: upload both photos, describe the result and generate. For two photos next to each other, a free side-by-side maker takes seconds. Both work in a phone or computer browser with nothing to install.
Can I merge two photos for free?
Yes. Stitching photos side by side, stacked or in a grid is free without limits. AI merging uses credits: new accounts get 3 free credits, and one 1K image costs 1 credit, with no watermark. After that, a 40-credit pack costs $5.99. Photopea and Canva's free plan cover simple blends.
What is the difference between merging and blending photos?
Merging usually means creating one image from two, either by AI (a new scene) or by stitching (photos joined at the edges). Blending means overlapping the two photos so one shows through the other, with transparency, a gradient mask or a blend mode.
How do I merge two photos without Photoshop?
Use an AI combiner for a merged scene, a free stitching tool for side by side, or Photopea (free, in the browser) for gradient blends and double exposures. Photopea uses the same layer mask and blend mode steps as Photoshop.
Can I merge two photos on my iPhone or Android phone?
Yes. The AI combiner and the stitching tools run in a mobile browser, and iPhone HEIC photos upload directly. For blends, use a phone editor that supports layers and transparency.
Can AI merge two faces into one face?
Morphing two faces into a third, invented face is a different task from merging photos. ImageCombiner is built to keep each person recognizable and place them together in one scene, so describe the scene you want rather than a blended face.
Why was my photo merge blocked?
ImageCombiner checks every uploaded photo and prompt and blocks sexual or violent content before any credit is spent. If a normal photo is blocked, try a different photo of the same person, for example one with more clothing visible or a less tightly cropped frame.
Merge Your Two Photos
Decide whether the result should be one new scene, a blend or two photos next to each other. For a merged scene, upload both photos to the AI image combiner, describe where everything goes and compare a few 1K versions before you keep one.